It was fun to shoot a film on my Yashica Electro 35 GTN film camera and this post is all about how to use the overexpose technique and develop it at box speed. I was doing quite a lot of homework, watching videos and tutorials about how to ‘pull’ film overexposed. This experiment of overexposing the Kodak Portra 400 is for creative purposes and what are the results of the film stock? I decided to shoot at 200 ISO and developed it at box speed.
Initially, there might be confusion regarding the terms “pulling” and “pushing” in the context of +/- development at the film lab. To clarify, when I use the term ‘pull,’ I am referring to increasing the exposure. For example, if I shoot Kodak Portra 400 at 200 ISO on the film camera, specifying a “pull,” it means I am intentionally overexposing by one stop for exposure compensation.
Using the film overexposed technique
This is my first time overexposing film stock and guess what? The results surprised me! It looks much better than my first roll of the Portra 400 film shoot and I was quite happy with the color tones of the overexposed Portra 400. I quite enjoy how this film looks on film.
I was shooting some film photography portraits, street fashion in Bukit Bintang, and street photography in Georgetown, Penang recently with my Yashica Electro 35 GTN loaded with the Kodak Portra 400. I try my best to preserve the film by storing it in the fridge and avoiding leaving it in hot places or for a long time inside my camera.
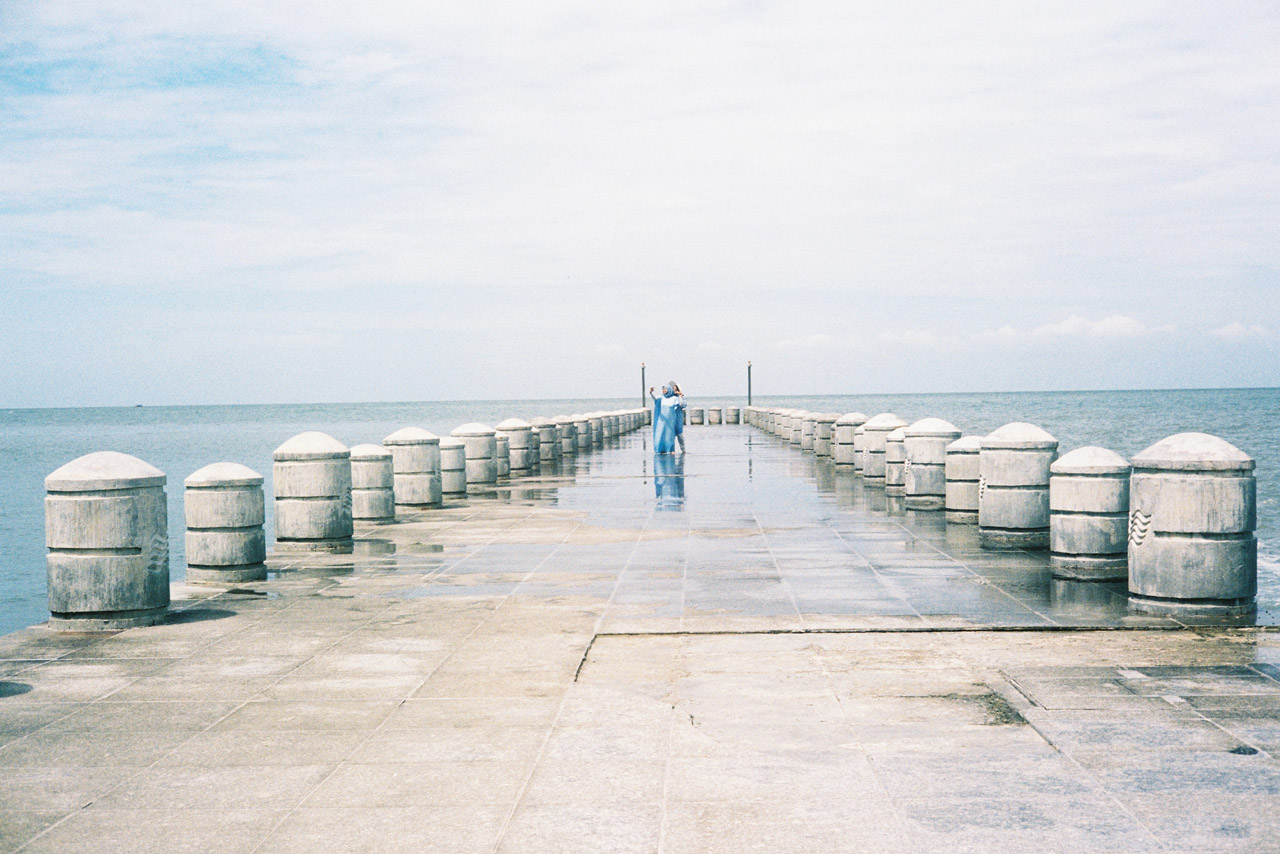
As usual, the film is developed by Darkroom8 Malaysia, one of the best film labs in Malaysia. My favorite shot is the concrete jetty shot taken at Batu Ferringhi beach in Penang with composition and leading line.
This was my second time shooting on the Kodak Portra 400 film stock. I like how the framing and blue-teal color tone of the sky blend well with the concrete jetty. As the shutter speed is set automatically, I have to depend on the camera light meter.
I didn’t expect my film shoot series in Penang to turn out so well, although there are few shots with the lens cap on. Please read about my holiday in Georgetown Penang and view more street photos.
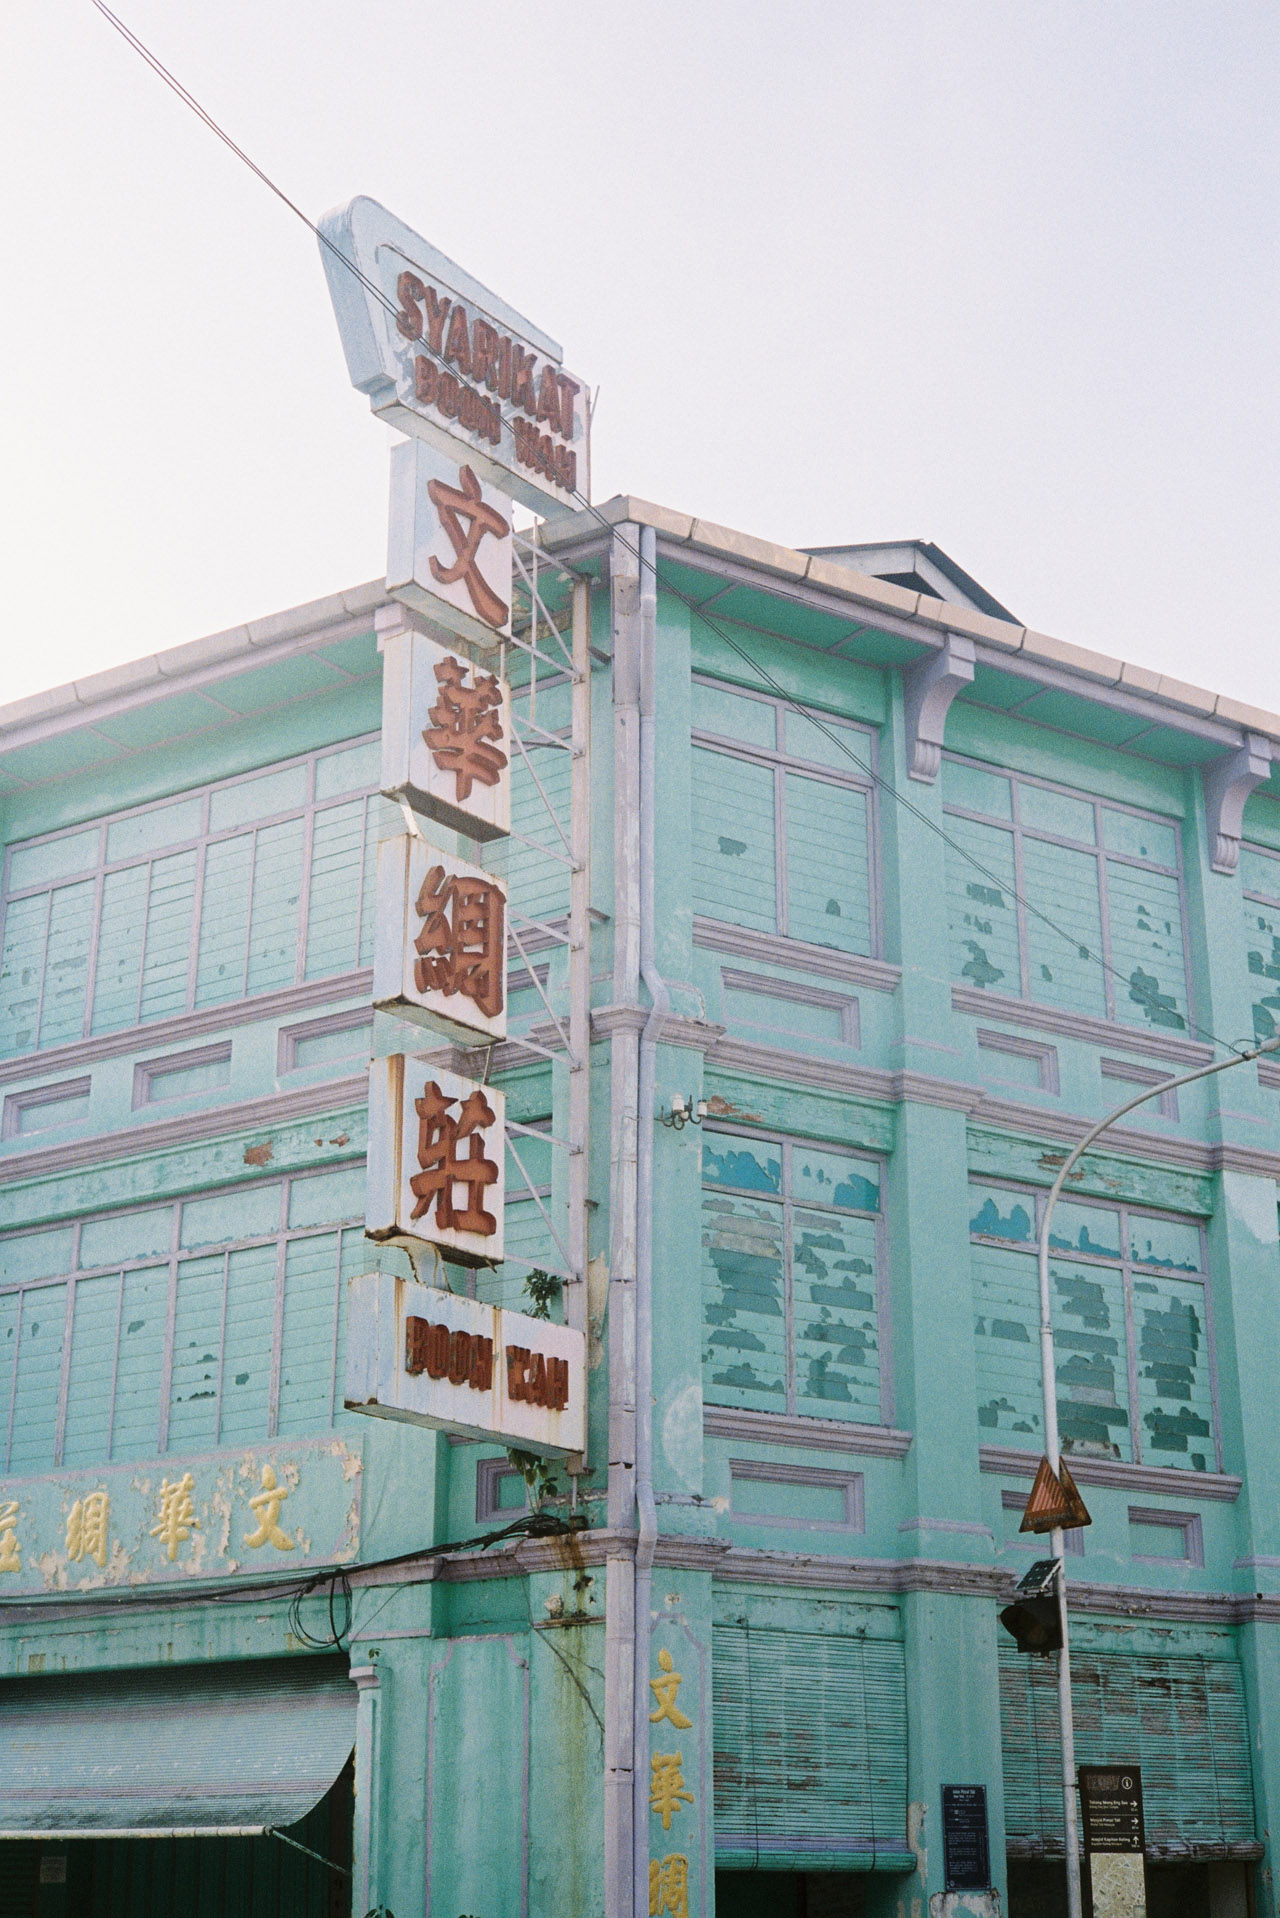
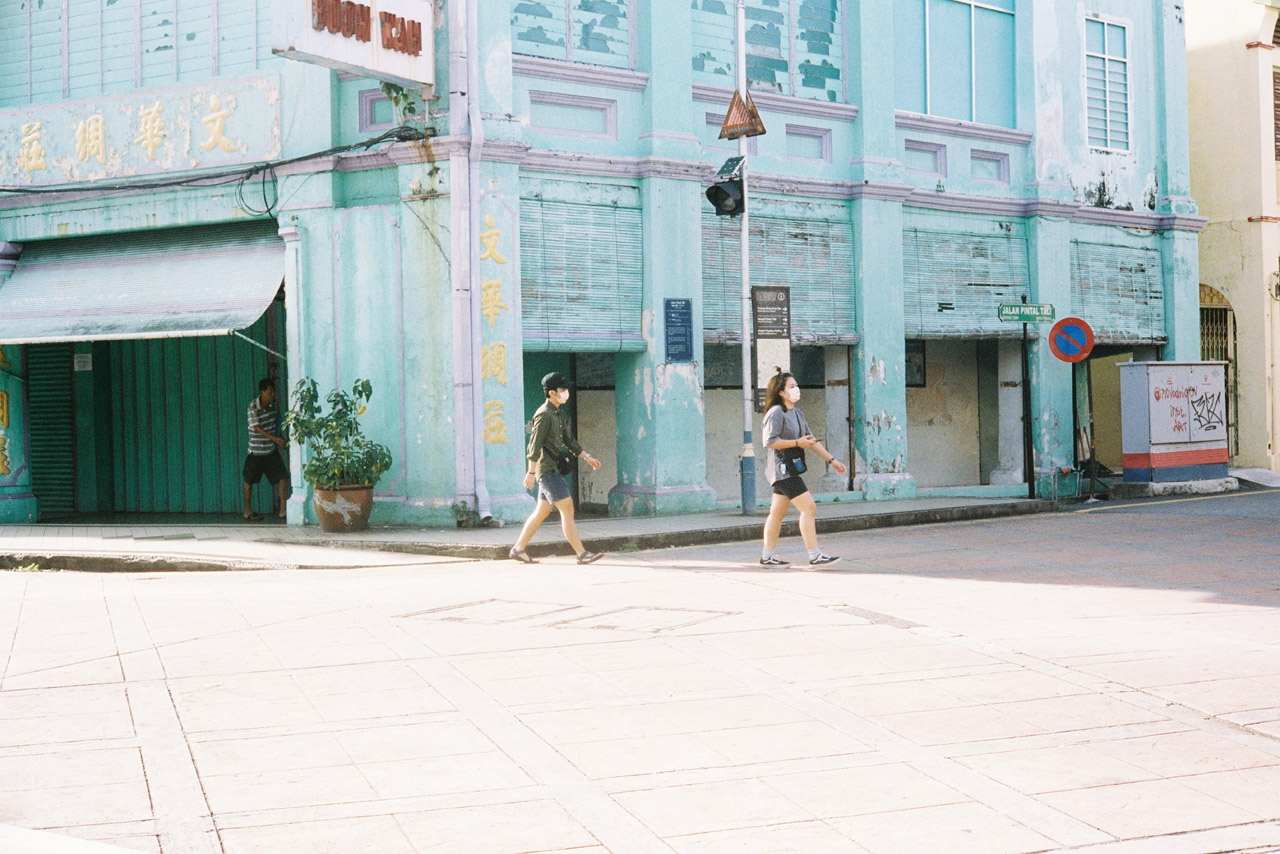
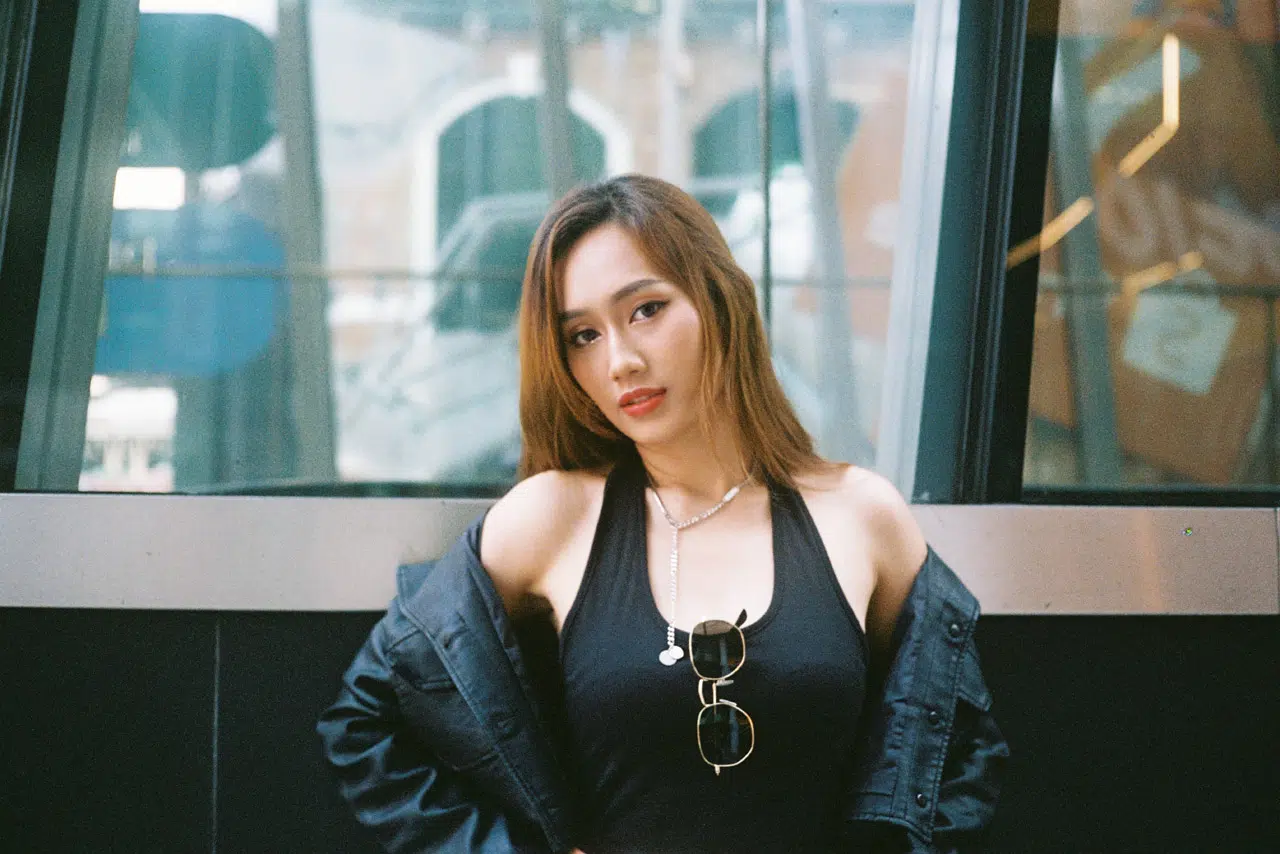
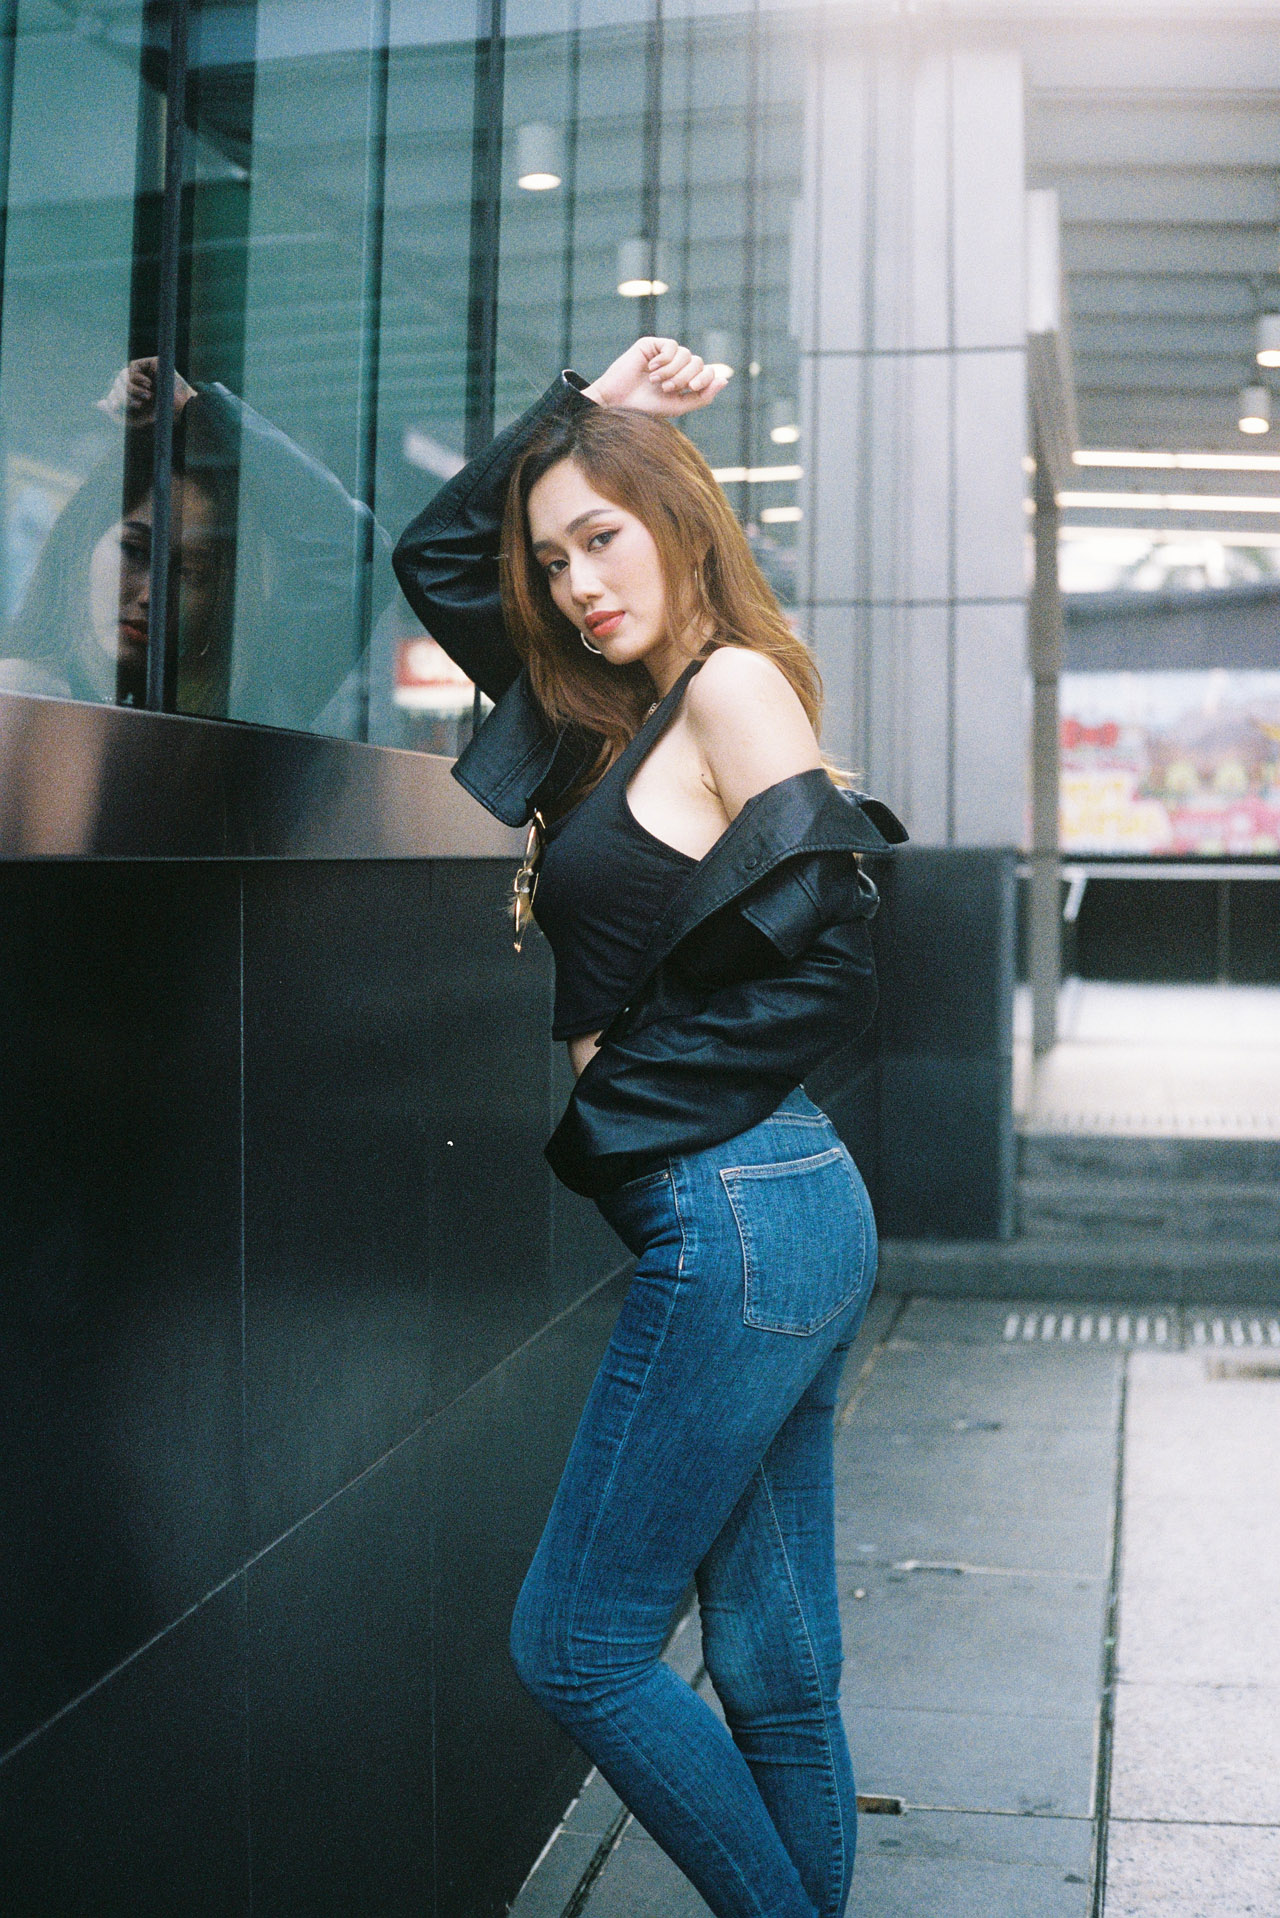
My street portrait using the same film roll in Bintang Walk also turned out amazing! I’ve combined it with the Moment CineBloom diffusion lens filter; you can learn more about diffusion lens filters in my latest guide.
The recent street fashion photoshoot in Bukit Bintang KL with the lovely girl is one of my favorite portrait shoots. I was shooting at F2.8 giving a little more exposure as the lighting at the location was quite shady.
How To Push/Pull Film & Develop By 1 Stop
There are times when a photographer is shooting film and they might desire an image that is overexposed. This blog will give you some tips on how to achieve this look, as well as what the differences are between over-exposing a black-and-white negative or slide, as opposed to color. We usually pull & push film for creative purposes, and push film if we need more exposure in low light.
Pulling film
Pulling the film means overexposing the film. On the camera, set the ISO to -1 stop of the film box speed. E.g film box speed 400 ISO, camera ISO set to 200 & developed -1 stop
Pushing film
Pushing film is known as underexposing the film. On the camera, set ISO to +1 stop of the film box speed. E.g film box speed 400 ISO, camera ISO set to 800 & developed +1 stop
There are many reasons why a photograph might be intentionally overexposed, such as to add brightness to your composition or to aid in high contrast levels. In this case, the goal is to make your image brighter than it is. This is also known as an overexposed photo. Do check out more about how the images look when pushing the Ilford Hp5 film stock one-stop results in more contrast and getting more light in low light conditions. For more info, check out more details on thedarkroom.com about pulling & pushing film.
Shoot & Develop As Usual (Exposure Compensation)
Regarding the photos above, I adjusted the camera ISO to 200, resulting in a deliberate one-stop overexposure. I then developed the film stock using the standard process for exposure compensation. If you prefer to maintain the color tone and film grain, you can always shoot the film at its box speed, as I did for the moody creative portraits shoot.
I hope this simple and easy technique will help the beginner who wants to try to overexpose film stock for more exposure. Happy shooting film!


4 Responses
You have confused pushing and pulling film ( shooting and developing at a different speed to that on the box) with over and under exposing ( shooting at a different speed and developing at box speed) if you shoot portra at +1 stop and expose at box speed you have not pushed or pulled the film just compensated the exposure. This blog post will be very confusing for a beginner
David, I appreciate your feedback. I’ve revised the writing to eliminate any confusion.