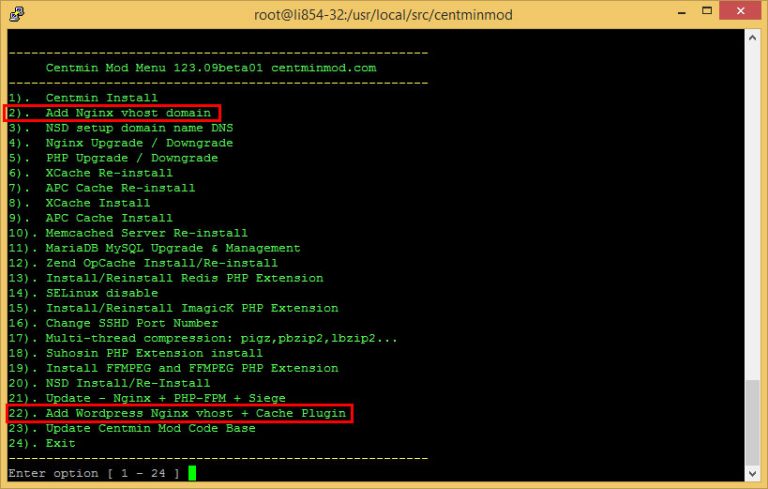
Thank you and welcome back to IvanYolo. This blog post will cover the topic of how to set up Linode DNS by using the DNS manager and creating custom nameservers. Previously we have covered on setting up LEMP stack on CentOS using Centmin Mod and also creating a WordPress Vhost to host your first website.
This guide will help you to create DNS records on Linode and point your domain name to Linode VPS so that your website can go live. Now let’s get started, it’s quite basic and straightforward. If you are using Linode hosting, it will be much easier, as they provide DNS management for their customers.
To set up Linode DNS, first, you need to log in to your Linode account and look for DNS Manager on the menu bar. Now you will have the option to Import a zone, Clone an existing zone or Add a domain zone. Click on Add a domain zone. Now you will see something like the picture below
Setup Linode DNS with DNS Manager

Now all you need to do is enter your domain name under Domain and a valid email address for SOA Email. you will then have the option to choose your current VPS from the dropdown list, select the one you’re using and then click Add A Master Zone.
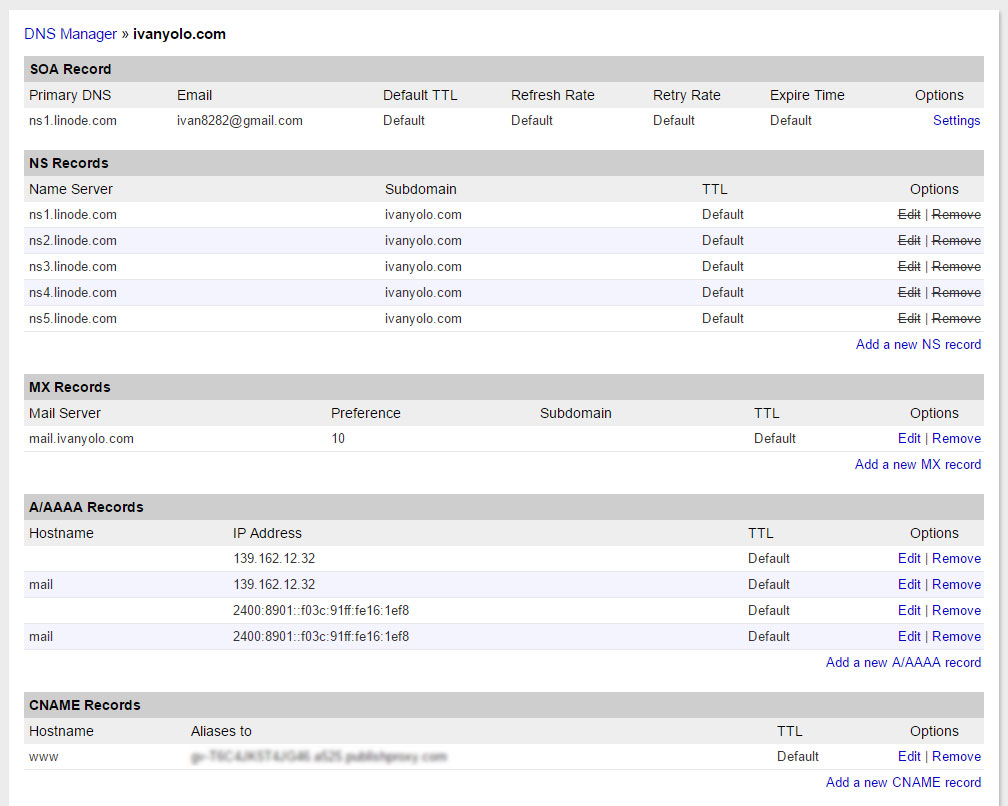
Now you have successfully created a basic DNS zone and nameservers. To view more DNS zone details, click on Edit and you will see all your A records, CNAME records and nameservers Linode have created for you. If you are using free email hosting such as Zoho, you might need to add/update additional MX records & TXT records to the Linode DNS zone.

You can now point your domain name to the server by using the created Linode nameservers. All you need to do is change your nameservers to below and check using IntoDNS.com for updates.
ns1.linode.com
ns2.linode.com
ns3.linode.com
ns4.linode.com
ns5.linode.com
Well, it’s all done and now you need to wait for DNS propagation to take effect about 24-48 hours. This end our setup Linode DNS tutorial.


One Response