I have started shooting portraiture photography using my Fujifilm cameras more than a year ago. Basically, I learned shooting skills through trial & error, Youtube tutorials, photography classes, and some guidance from friends. Here I would like to share the basic outdoor portrait shooting guides covering the best outdoor portrait photography settings and techniques to use for the Fujifilm X-Series camera users.
This will be a quick outdoor portrait guide for the photographers who would like to explore outdoor portraits. The first step in achieving good portrait results is to understand lighting, shadow, and composition. Then you need to know how to operate the camera by adjusting the correct settings including ISO, shutter speeds, and aperture.
Basic Portrait Shooting Guides
Here are some of the topics I’ll be covering in this beginner’s guide to outdoor portrait photography.
- When is the best time to shoot an outdoor portrait?
- What is the best portrait lens to use?
- How do I make the background blur and the talent stand out?
- What is the most flattering portrait angle?
- I have a wide-angle lens, can I use it to shoot a portrait?
- I like the Fujifilm Film Simulations, which one is the best for portraits?
- What are the best outdoor portrait camera settings?
- Conclusion
When it comes to outdoor portrait photoshoots, lighting and composition are crucial. You have to find the best natural light whenever you’re doing an outdoor shoot. To make your photographs look eye-catching and stand out, you must have good lighting for your subject, angle, and composition. You must be aware of the lighting conditions in your shooting location. Do you want to use natural lighting or an off-camera flash? The camera must then be properly adjusted for outdoor portrait settings so that the images are not overexposed or underexposed.
Here are some of the Youtube tutorial videos about basic portrait lighting guide and camera settings for shooting portraits. Some other videos that you can check out our videos by popular Fujifilm gear reviewers/photographers like Omar Gonzalez and Paul2tech.
I’m not claiming to be an expert, but in order to become a professional portrait photographer, I had to learn from my photography mistakes and would like to share some of my knowledge on how to get a nice-looking, flattering outdoor portrait photoshoot.
I often shoot travel portraits, OOTDs, and outdoor fashion for talents, models, and social media influencers. When it comes to camera gear, I love to take photos with my Contax G1 film camera, Yashica Electro 35 GTN, and Fujifilm X-T4 and also my favourite lenses for portraits are the vintage SMC Takumar 50mm and Fujinon XF35mm F2.
Here are the 7 most frequently asked questions about outdoor portrait photography for Fujifilm newbies.
1. When is the best time to shoot an outdoor portrait?
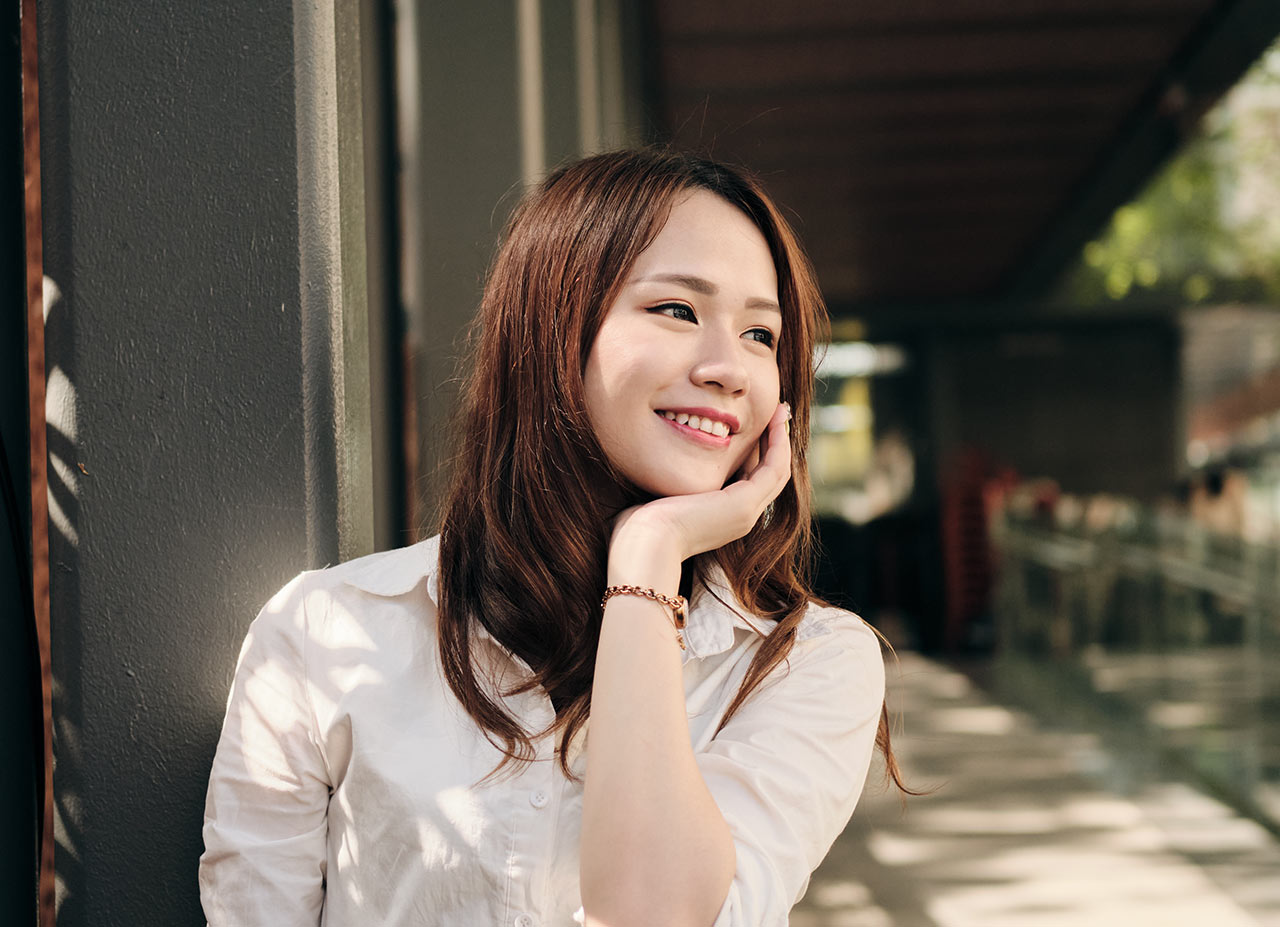
You’ve probably heard a lot of photographers talk about the golden hours in different Portrait Shooting Guides. What exactly is the golden hour, and why do photographers prefer to shoot at this time? The golden hour occurs at the start of the day, just after sunrise and before sunset.
Many photographers prefer to shoot during the golden hour, when the sun is at a lower altitude, creating a golden, warm effect that is ideal for an outdoor portrait photoshoot. I usually took portraits in the early morning, around 8 a.m.
After the sun rises at noon, the sunlight becomes too harsh for your subject, messes up your camera settings, and frequently gets overexposed or too bright on the subject’s face, which does not look good. It is best to use a reflector or relocate to a shady location to alleviate the harsh sunlight on your subject.
Having a photoshoot right before the sunset is also the best timing for natural light portraits, you will get a warm and dreamy photo for your customers. Shooting at golden hours also gives you the catch light in your subject eyes depends on how you pose the subject to lighting, showing the emotion and making your photos look more lively as many say eyes are the window to the soul.
2. What is the best portrait lens to use?
There is no best lens for portraits but most Fujifilm photographers prefer prime lenses with focal lengths ranging from 50mm to 85mm for tighter portraiture results. The most popular portrait lens is the Fujinon XF50mm F1 prime lens. I love shooting wide open aperture with my Fujinon XF35mm F2, it’s great for full-body OOTD, and half-body shots.
There are also many Fujifilm hobbyist photographers who shoot portraits with a mount adapter and vintage lenses in order to achieve creative photography effects and replicate retro film colour tone using Fujifilm film simulations.
Shooting wide-open aperture will allow more light into the camera sensor, at the meantime getting depth of field, blurring the background and foreground. For portraits, I always shoot at the maximum aperture to let my subject or talent pop out, giving a three-dimensional effect and blurring the backgrounds.
In some cases, another portrait shooting guide I can give is that when there are times when you want to take photos with the in-focus background especially when travelling, you can adjust the F-stop to F5.6 to F8, depending on the situation.
3. How do I make the background blur and the talent stand out?
In order to make your background blur, talent pops, here’s the magic. It is about what do you want in-focus on in your photograph. Always use the widest opening aperture for depth of field.
E.g the Fujinon XF50mm prime lens widest aperture size is F1. While focusing on your subject standing at the centre, shooting at the widest opening aperture will give you the depth of field of the background and foreground.
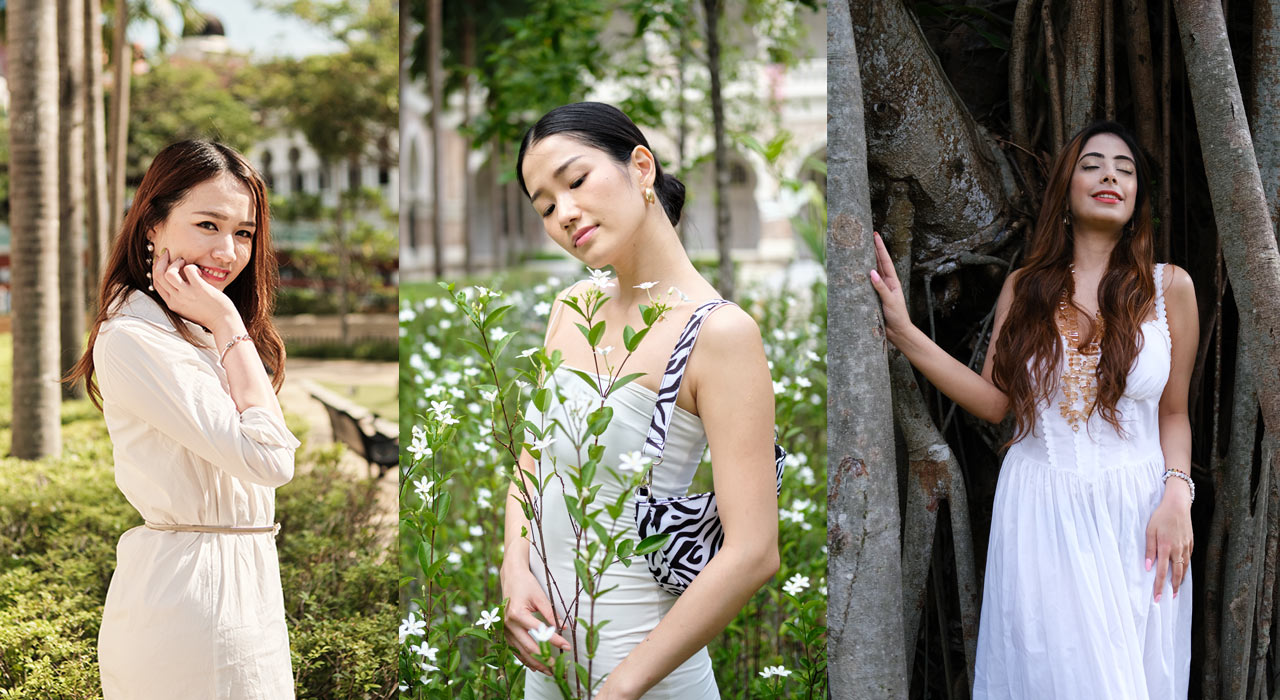
4. What is the most flattering portrait angle?
A bad angle will make your photo look strange and unappealing. Shooting at the eye or breast level is the best portrait camera angle. Even after all these years, I’m still struggling and learning how to get the best angles by shooting trial and error.
The best way is to first pose your subject, then compose and shoot from various angles, such as eye-level, mid-level, and low-level. Each of these angles provides a unique perspective in the photographs.
Also, remember to leave some headroom for a half-body shot and some legroom for a full-body shot. It is common for me to have difficulty posting on social media platforms such as Instagram due to a lack of headroom/legroom in the photos.
5. I have a wide-angle lens, can I use it to shoot a portrait?
As previously stated, I almost always use portrait lenses ranging from 23mm to 85mm for crop sensors. There’s nothing wrong with using a wide-angle lens for outdoor portraits, but when you get close, it will definitely distort your subject’s face. To avoid distortion when using a wide-angle lens, always take a step back from your subject.
Wide-angle lenses with focal lengths less than 23mm are typically used for landscape and street photography, but they can also be used for creative portrait shots if you want to create an unflattering distortion effect on your subject or something. For crop sensors, I prefer to use prime lenses with at least a 23mm equivalent to 35mm focal length on a full-frame.
Wide-angle or kit lenses are ideal for travel photography, where you want to capture both the subject and the visible background.
6. I like the Fujifilm Film Simulations, which one is the best for portraits?
As a Fujifilm user, I was so into the Fujifilm Film Simulations as it gives me the option to apply different film-look color tones or even create my own film recipes.
I have previously revealed a few best film simulations for portraits and I found out the best film simulation is the Pro Neg Hi for outdoor portrait photoshoots.
Prior to getting my X-T4, I shot a lot with the Pro Neg Hi simulation and it looks great; if I need to make any adjustments, I would use Capture One to lower the exposure, highlights, and so on.
7. What are the best outdoor portrait camera settings?
As a part of this Portrait Shooting Guide, I’d say that there are no best portrait settings as long as you know how to use the camera in manual mode and follow the Sunny 16 rule. I always use eye auto-detection, a wide-open aperture, and a live view highlight alert to take great outdoor portraits.
Best Fujifilm Camera Settings For Portraits
- Turn on Auto Focus – Half-press the shutter release to autofocus your subject
- Turn on Auto Eye Detection – Use auto eye detection to accurately focusing on sharp eyes and faces.
- Turn on Live View Highlight Alert – As guidance showing if the image will be overexposed.
- Turn on Framing Guideline – Help with portrait composition and framing your subject.
- Turn on Histogram – Slightly help by knowing what is the lighting condition, whether it’s too many highlights or shadow.
- Turn on Boost Mode – Improve the performance of the camera. No lag.
- Use Auto ISO – ISO160-800 (You can set to higher ISO in case there are not enough lighting in the area)
- Turn on Burst Mode – You can shoot in Burst mode for quick shooting style. It’s alright but you will miss some focus if the subject is moving or posing.
- Use the camera metering – Make sure it shows at 0. You will roughly know if you get the perfect exposure.
- Use Manual Mode – Shoot using manual mode with Auto ISO or Shoot Aperture Priority mode.
You can enable some of the display settings to help you out even more during the outdoor shoot. These are some of the basic settings I use as a guideline whenever I do a photoshoot.
Conclusion
Here are some basic outdoor portrait shooting guides, portrait lighting, and techniques to help you with your next outdoor portrait photoshoot. Do check out some of the best portrait shoots I’ve shots and compiled. Meanwhile, please stay safe and avoid congested areas, you can find things to do at home during the lockdown, such as learning new photography skills, shoot self-portraits, or take up new hobbies.
As a summary of this Portrait Shooting Guide, I’d advise that when shooting outdoor portraits, always look for the best location with a nice background, shoot during the AM/PM golden hour for the best light, compose your shot, pose your subject, and snap away to get a basic nice portrait!